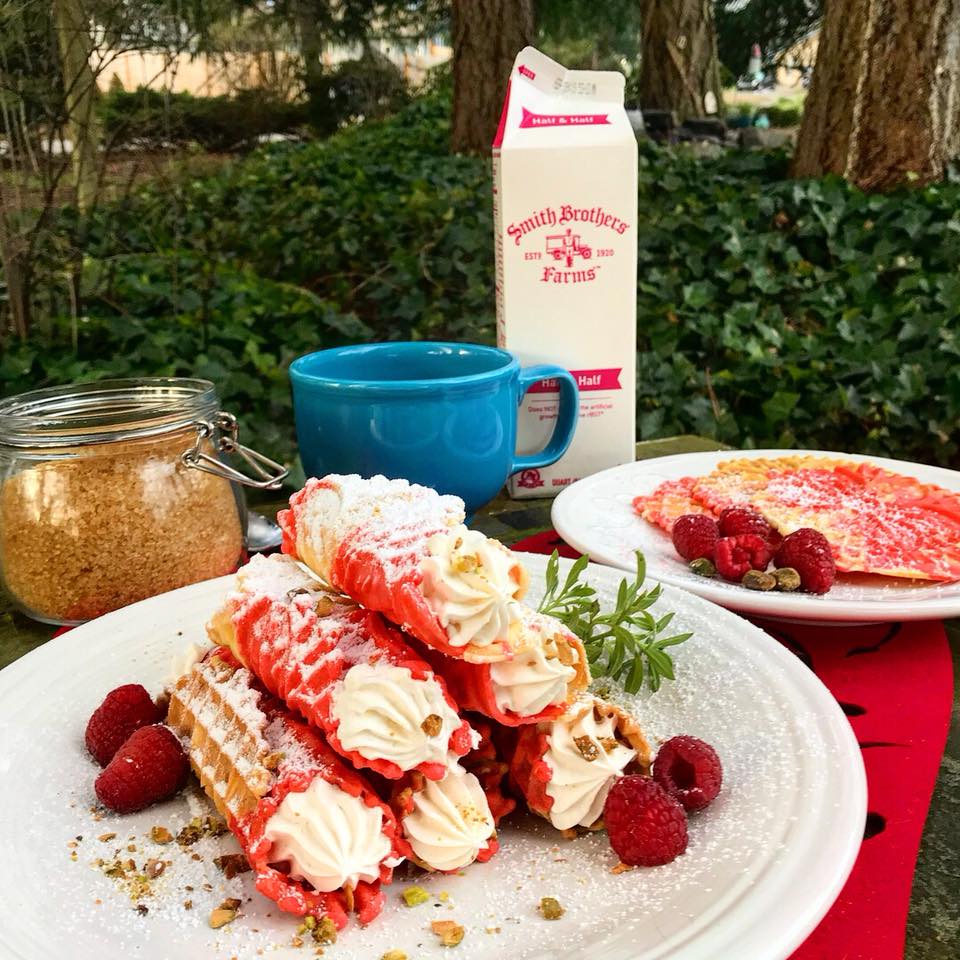
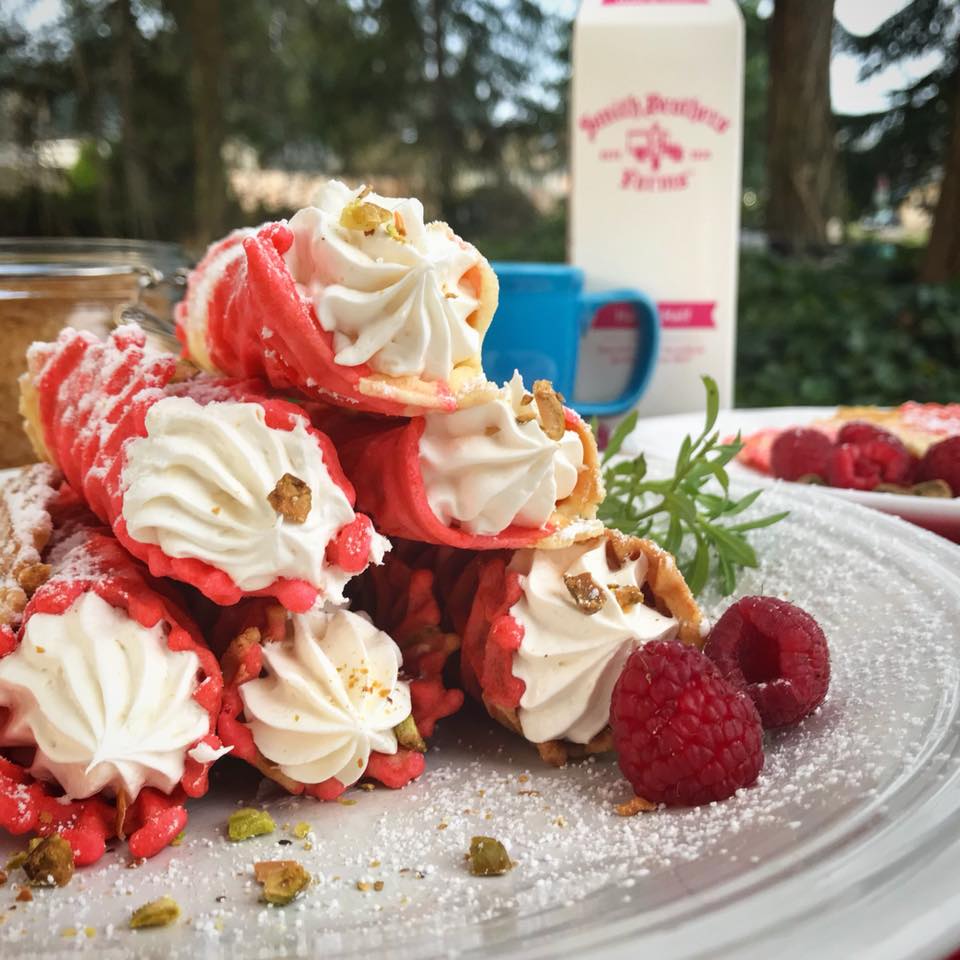
Sweet Treat Showstopper Winner: Stuffed Pistachio Pizzelles
In case you missed it, we held a Sweet Treat Showstopper contest on Facebook. We asked our customers to show us the best Valentine’s Day-themed dessert they’ve made with our products. We were blown away by all the entries that we received. In fact, we originally were going to name one winner, but our panel of sweet-toothed judges could not pick just one winner. Which is why we named a second and third place winner as well.
After we announced the winners, we had numerous requests to get the recipes. We asked our winners, and they were more than happy to share!
Be sure to check out the recipes for second place (gluten-free mocha chocolate chip cake) and third place (lemon and blackcurrant stripe cake) too!
-
The first-place winner was Courtney Colaizzi who made stuffed pistachio pizzelles with the help of her ten-year-old, Ardyn.
If you’ve never heard of pizzelles, you're in for a real treat. They’re a delicate, wafer-like Italian cookie that melts-in-your-mouth. Courtney describes on her blog why these sweet treats are so special:
"I married into an Italian family. Pizzelles are, simply put, a holiday/celebration/snack staple. It's like bread and oil. If I don't have bread and oil within the first 15 minutes of a meal... I get nervous. Likewise, if there are no pizzelles on the cookie table, somethings up, and we should have a family discussion. And while most pizzelles are served flat and crispy, you can get all "bad-n-boujee" and fill them with just a tad more effort. I promise that these little show stoppers are the easiest and most delicious things to make, provided that you own a pizzelle press."
Pizzelles Recipe
Ingredients
- 3 Smith Brothers Farms eggs
- 2 tsp. pistachio extract (Feel free to experiment with whatever extract you want. Traditional Italian pizzelles use anise extract or seed)
- 1 tsp. vanilla bean* optional (but boy does it taste amazing)
- 1/4 tsp. salt
- 1-3/4 cups all-purpose flour
- 2 tsp. baking powder
- 1/2 cup Smith Brothers Farms butter, melted
- 3/4 cup sugar
Note: If you wish to stuff the pizzelles, the ingredients and instructions for the filling are below.
Instructions
Melt your butter and set aside to cool. Sift flour and baking powder. In a large bowl, beat eggs, sugar, salt, vanilla and pistachio extract, then add the melted butter. Your butter should be lukewarm to avoid scrambled egg pizzelles. Add the flour to the egg mixture and stir. Your batter will be stiff and should be dropped by teaspoonfuls in the center of a preheated press.
Depending on how "done" you like yours, they'll take one to two minutes to brown. Courtney recommends troubleshooting your first batch. You can set a timer, but, most modern presses have a built-in timer, much like a waffle iron. Take the pizzelles out with tongs and place on a cookie rack.
For a little more spunk, add powdered sugar once they have fully cooled and serve.
Quick Tips:
- Use spray oil to keep the mixture from sticking.
- Use an actual teaspoon to drop batter.
- The batter can be refrigerated up to 3 days.
- You can add food coloring.
- Be sure to firmly squeeze the press handle for perfectly thin and crisp pizzelles.
- Store them in an airtight container.
Pizzelle Filling
- 1 8oz package of cream cheese, softened
- 1 tsp vanilla extract
- 1/2 can sweetened condensed milk
- 8 oz freshly whipped cream
If you wish to stuff them, carefully take the hot pizzelles out and roll them immediately into cylinders. Courtney uses her fingers and has her 10-year-old kitchen assistant hold them in place for a second. The pizzelles will be hot and you must work quickly. You won't be able to shape them if they cool even a little bit. Luckily, they keep their shape within seconds of rolling them.
Whip cream cheese, vanilla, and condensed milk together until smooth. Carefully fold in the fresh whipped cream. Add to the piping bag (a ziplock bag works too) and fill your pizzelle cylinders. Top with powdered sugar, crushed pistachios, berries... you name it. Keep them refrigerated until it's time to serve.
Check out Courtney’s blog, And I Can Cook Too, for more tasty recipes!


