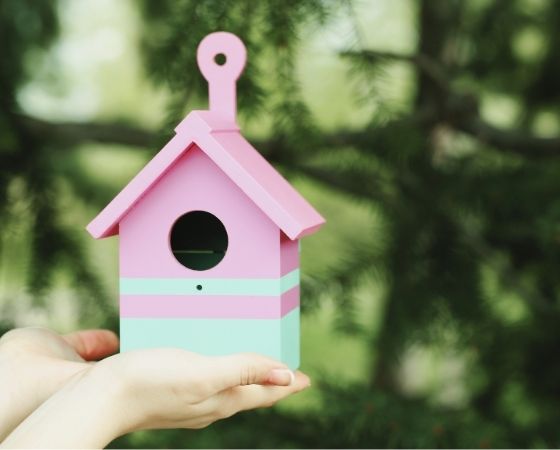
Craft a Birdhouse from a Smith Brothers Farms Milk Carton
Wednesday, April 10, 2024

Nesting season just got a whole lot cozier with our DIY Birdhouse tutorial! 🐦🌿 Whether you're a seasoned crafter or a total newbie, you can create a charming avian abode right in your backyard using your empty Smith Brothers Farms milk cartons. Get ready to welcome feathered friends with open wings as we guide you through each step of this fun and rewarding project. Grab your tools and let's get building!
Materials Needed:
- 2 Clean, empty milk cartons
- Scissors or craft knife
- Acrylic paint or markers (optional)
- Strong adhesive or hot glue gun
- Wooden dowel or stick
- String or wire (for hanging)
- Pencil/marker
- Birdseed (for filling)
Instructions:
- Prepare the Milk Cartons: Ensure your milk cartons are clean and dry. One milk carton will form the structure of the birdhouse, and the other will be used to make the roof and decorations.
- Separate the top seam of each milk carton so that it forms an open rectangular shape.
- With the Smith Brothers Farms logo facing toward you, use scissors or a craft knife to carefully cut the top panel of the carton into a triangular pitched roof shape. Repeat on the back side.
- Next, turn the carton to view the side and cut straight across. to remove the tops of the 2 side panels. Now it should look similar to a tall house shape with no roof.
- Take your other milk carton and cut out one entire side panel. Fold it in half to create the roof.
- Affix the roof to the main house structure using hot glue or other adhesive.
- Make the bird entrance:
- Decide how large you want the entrance hole to be based on the type of birds you want to attract. If the opening is too large, it will not provide a safe haven for small birds. A hole with a diameter of 1.5 to 2 inches is suitable for most songbirds. You'll also want to take into account the distance from the floor of the birdhouse to the opening, depending on the birds you're hoping will nest.
- In this case we're going to make our circle right around the milkman and his truck in our logo. (The hole should span from the D in ESTD to the 1 in 1920), but you can adjust if you want a specific type of bird.
- Trace a circular object or use a compass to draw a circle in your desired shape.
- Cut the circle out using scissors or craft knife.
- 1" below the entrance hole, mark a small dot. This will be where you attach a perch for birds to rest on.
- Punch a hole slightly smaller than the diameter of your dowel through this marked dot. Thread the dowel through so it is placed just a tiny bit inside the birdhouse interior, with most of the dowel on the outside.
- Using a strong adhesive or hot glue gun, attach a small wooden dowel or stick to the marked spot on the outside of the milk carton. Ensure it is securely attached and allow the glue to dry completely.
- Make a Hanging Loop. Poke a small hole in the back of the birdhouse and thread a piece of string or fabric loop for hanging.
- Paint: Use acrylic paint to paint the birdhouse in your desired colors. This is your chance to get creative! Let the paint dry completely before additional gluing.
- Add finishing touches
- Use your extra milk carton to fashion small details that make the birdhouse a bird home 😁. You could add dimension by cutting out window frames, faux doors, a little fence, a porch, roof shingles, or anything you think your feathered friends might enjoy. Paint these separately and let dry before you glue them onto and around the birdhouse.
- Before hanging your birdhouse, place a little birdseed in the bottom of the milk carton. This will attract birds to their new home and encourage them to explore inside.
- Find a suitable location for your birdhouse, such as a tree branch or garden hook, preferably in a quiet area away from predators. Hang the birdhouse securely using the loop you created earlier.
Creating a birdhouse from a milk carton is not only a fun craft project but also provides a cozy home for birds and adds charm to your outdoor space. Happy birdwatching! 🐦🏠
