Six Ways to Make Frothed Milk at Home
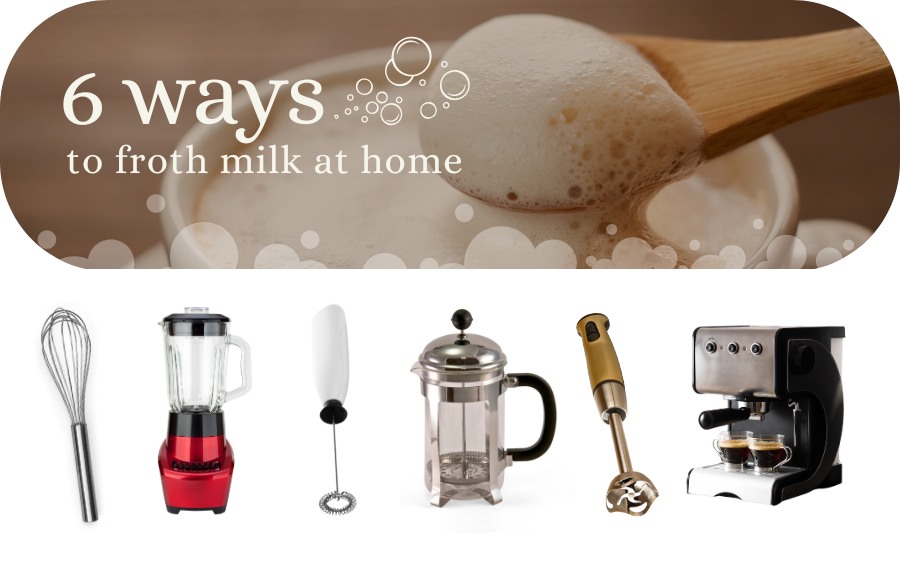
Frothing milk at home is an art that elevates your coffee or tea experience to new heights and can be done using tools you already have in your kitchen. Unlock the secrets to achieving velvety, frothy milk from the comfort of your home. Whether you're a coffee aficionado or a tea enthusiast, get ready to master the art of frothing and turn your daily sips into a delightful indulgence. Welcome to the world of at-home milk frothing! Let's take a look at six options you have for creating pillowy clouds of luscious milk at home.
1. Whisk
This is the simplest way to froth milk and it uses standard tools for most home kitchens: just a saucepan and a whisk. For this method, heat the milk in a saucepan over medium heat and as it heats, use a whisk to vigorously beat it until it starts to get fluffy and foamy.
Pros:
- Requires little equipment
- Control: you can precisely adjust the stiffness of your foam
- Works for small or large quantities of milk
Cons:
- Whisking is hard work!
- Difficult to get true microfoam for latte art
2. Milk Frother
Compact and easy to use, stick foamer devices are relatively inexpensive and very straightforward to use. For this method, heat the milk in a saucepan over medium heat and once it reaches the desired temperature, use the frother to foam it into a cappuccino-worthy cloud.
Pros:
- Small, inexpensive device
- Fast and effective
- Less work than whisking by hand
- Works for small or large quantities of milk
- Easy cleanup
Cons:
- Requires specialized equipment
- Doesn’t achieve microfoam
3. French Press
The French Press is a surprisingly effective method for frothing milk. It's simple and requires minimal equipment that many coffee drinkers have on hand. For this method, heat your milk and then pour it into a french press, leaving plenty of room for the milk to expand. Pump the plunger up and down to move the mesh through the milk. This will gradually build up a stiff foam in fairly short order.
Pros:
- Produces a vigorous foam with very little effort
- Many coffee drinkers already have a french press
Cons:
- Can’t froth milk for coffee when your coffee is brewing in the same French press
- Milk may be more bubbly than foamy - it’s difficult to get microfoam
- Difficult to froth a small quantity of milk in a large press
4. Pitcher Blender
Using a regular pitcher blender creates a substantial amount of foam. However, it must be done carefully so the steam doesn’t cause the hot milk to splatter., and the froth might be denser compared to other methods, making it less suitable for those who prefer a lighter foam. For this method, gently heat your milk and pour it into your blender. Run the blender on high speed until you get the desired amount of foam.
Pros:
- Blenders are versatile, commonly used kitchen equipment
- Creates thick foam with little effort
Cons:
- Hot milk can splatter out of the blender
- Cleaning a blender can be cumbersome
- Froth comes out dense and thick (not microfoam)
5. Immersion Blender
An immersion blender offers a convenient alternative to a pitcher blender. It's easy to use and gives you plenty of control over the frothing. It's less messy than a pitcher blender, It's a versatile option but may not satisfy.
For this method, heat milk in a saucepan on the stovetop. When it reaches 120-140 degrees, completely submerge the blending head of the immersion blender into the milk and blend at high speed to create foam. Turn off the blender and remove from the milk.
Pros:
- Blenders are versatile kitchen equipment
- Creates thick foam with little effort
- Safer to use with hot liquid than a pitcher blender
- Easy cleanup
Cons:
- Challenging to achieve consistent microfoam
- Less common kitchen appliance
6. Espresso Machine with Steam Wand
The espresso machine steam wand is the pinnacle of milk frothing for coffee enthusiasts. It produces fine, velvety microfoam suitable for latte art. However, it requires an espresso machine, which can be expensive and requires maintenance. The learning curve might be steep for beginners, but the results are unmatched for those seeking café-quality frothed milk. For this method, place milk in a frothing pitcher submerge the steam wand on an espresso machine just below the surface of the milk. Tilt the pitcher so that the milk spins in a sort of vortex or whirlpool. Once the milk heats to 100 degrees, lower the wands completely beneath the surface and continue the spinning action until it reaches 120 degrees. Turn off the steam and remove the pitcher to pour. Milk should be glossy and about the thickness of wet paint.
Pros: unmatched quality for those aiming for barista-quality froth
Creates the microfoam needed for latte art
Cons: the required equipment is large, specialized and can be very expensive
Steep learning curve–requires significant time to master technique